Have you visited Pixel Scrapper?
It's a treasure trove of digital scrapkits and graphics, as well as a really cool place to hang out to chat with other scrappers and learn! Their commercial terms of use, for designers, is very generous and I have found their resources to be unique and of great quality. My favorite is probably their photoshop styles, but there is so much more--overlays, png elements, brushes etc. Take a look at these:
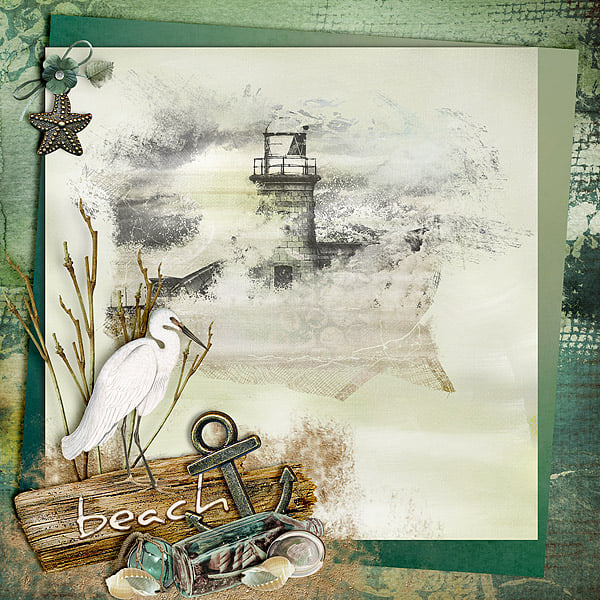
Elif Sahin's Painted Wood Style
But Pixel Scrapper is even better for scrappers! There are so many kits in a variety of themes--you can find almost anything you are looking for! So many styles--mixed media, clean scrapping, traditional--it's all there. And if you are new to digital scrapbooking, no worries! Check out the article What is Digital Scrapbooking? It's very informative and a great place to begin your foray into digital scrapbooking. These are some of my personal favorites:
Janet Scott's All the Princesses Jewelry Kit
Pixel Scrapper gives you five free downloads per day, plus as a new user you receive one free kit of your choice. If you want more?
Join as a subscriber and receive 5 complete kits per day!
But I think one of the biggest draws is the community itself. Over the years, so many sites have slowed down or closed altogether, and I for one miss the camaraderie of socializing with others who share the same interests. Pixel Scrapper provides that community.
Stop in the forum and visit the general chat area to talk about your day, or ask questions in the software category. Learn from the tutorials or join a blog train, or challenge yourself as a designer or a scrapper in the challenges section. You can even share your personally made graphics in the
Commons area for others to use. There is really some place for everyone to belong.
Thanks for reading ya'll! Hopefully, I introduced you to a new site or maybe just reminded you if you haven't visited in a while! I love to share new places that I find interesting!
x's and o's
Helly